This cargo divider/cover is notorious for breaking at the hinge. Some guy decided to fix his with homedepot hinges. It definitely does not look very good. So we went about fixing that. I'll have completed pics up in the next post.
Closer view of the stupid hinges
Ewww. It's epoxy that I dripped on there a long time ago FYI.
Here's where I took it apart. Originally, I was going to rip all the carpeting off and then recover it. But after ripping some off my Mom and I decided it might be best to just recover over the original carpet.
Here's the rear divider that also needed fixing. The upper left hand side corner in this picture was completely broken.
Here's a security box I decided to reupholster with felt.
Here's the new cargo divider completely made out of plexiglass? if I remember correctly.
Marked it for cutting
Here was where we were doing our prep work. Middle of the front lawn.
I used a router to cut out the holes for the handles in the divider.
Here's where my Mom traced out the felt for reupholstering the little security boxes.
I gave up working on this piece. My Dad installed the rest of the hardware while I worked with my on upholstering.
Here's how the old one looked without the carpet/felt on top.
This was the main reason why we went with a new plastic piece.
Here's the new piece with the hardware mocked up.
Here's one of the security boxes completely upholstered.
This was me drilling holes for the 90-93 integra power mirrors.
Random Shot of my car? Don't know why I took it/uploaded it.
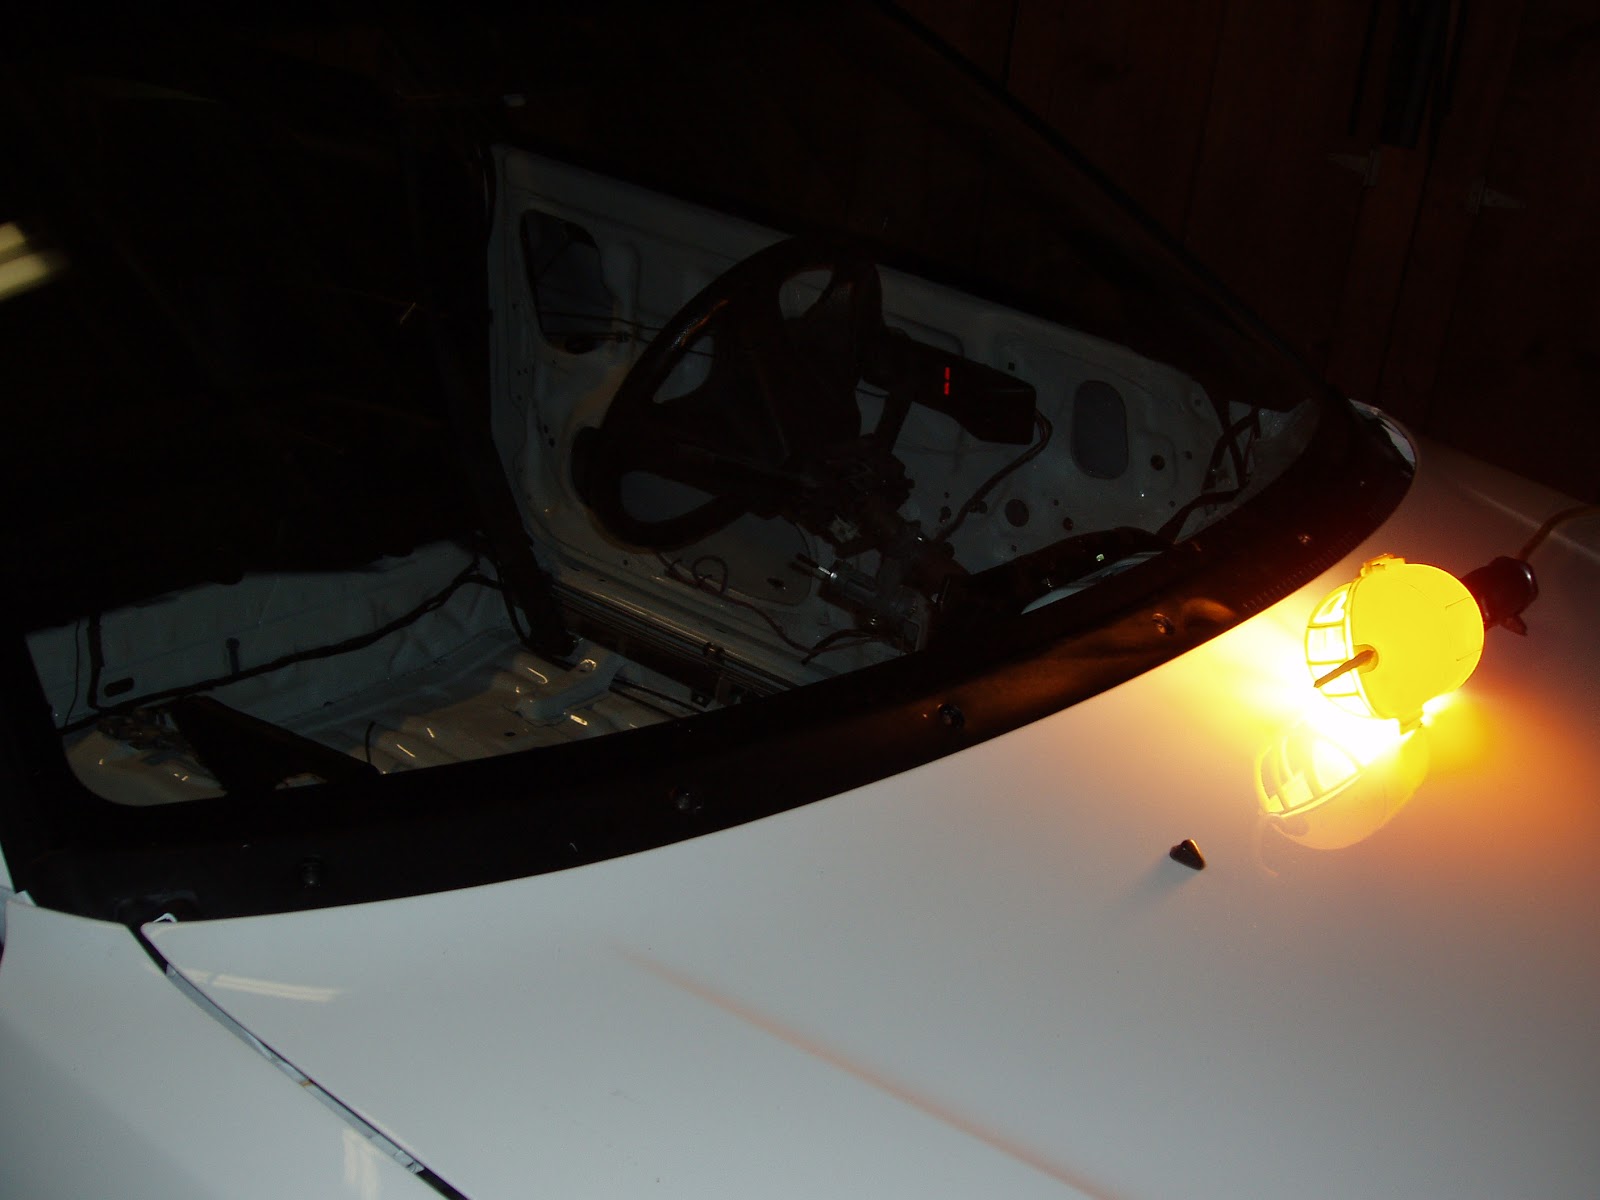
Rear hatch glass was installed. Will show more pics next post.
Dad and I got one of the mirrors installed. It was a serious pain in the ass. We did not have hard metal cutting bits for the dremel. The ones we used to grind on aluminum were definitely not strong enough.
Here's the mirror basically installed and the power wiring coming through.
Better picture of the mirror installed.
Here is my Mom laying out the new fabric for the cargo divider.
Here's the security box prepped, bulldogged, and ready for some spray glue.
Half way done with the cargo divider? Mom finished off the edges with hot glue.
I also riveted in one of the VIN#s.
Here is the cargo divider I believe completed.
Attaching the carpet. My Dad and I were stumped for a while as to how this whole assembly actually goes together.
I also received the amp that we ordered. Which means I can have music in my new car yay.
Here's a better picture. I completely forget everything about this amp except that it will be able to power my speakers!
Here's the little HD radio that we will be installing into the dash.
Here's some 90-91 steering wheel cover things. I plan on mounting my boost/oil pressure gauges on these along with my PLX m300 wideband.
Here's a 90-91 crx cluster I picked up from the Junkyard.
Cleaned up and mock installed.
better picture of the mock install. Also the hole in the left is from some dumb gauge the last guy had in the dash. I will be taking out that stupid pocket thing in there and putting in the new Radio. It should fit with a little bit of dremel grinding.
Here's some pics of the new gauges. I bought VDO b/c 1. they're used on porsches 2. this whole setup cost a quarter of the price of 1 defi gauge 3. they look kind of stock
Here's my climate control I bought for like $50 and the repair plate that was $10.
Here's what I did for all of Thursday or Friday. I forget b/c I hate wiring. It's a real pain.
The Grey plugs are the OBD1 plugs that I will be using. The Black plugs and White connector are OBD0 and all of the wires needed to be transferred to the OBD1 plugs. Unfortunately, you can't just depin them so I had to sit there and solder them all.
The workspace. You will find my dad sitting here a lot during the week.
My professional soldering/heat shrinking skills proven here.
Random pic of the new switches my Dad bought for cheap off the internet. The Crx ones were pretty torn up and these are a lot nicer.
Took this pic as I was almost done with the wiring for the B and C plugs. I made my Dad do A while I was at work.
The Family room floor looking down from my seat on the couch.
Also, did a lot of prepping for paint, glue, adhesion promoter etc. Absolutely no fun.
Only something someone that owns a crx/civic of my year would understand... But I did manage to get a UKDM Cluster with 9.5K Redline and 150MPH Speedo. I AM SUPER DUPER excited about this. Costs a lot but definitely worth it! I LITERALLY LOVE THIS CLUSTER.